Easter Nest Cupcakes
April 7, 2020
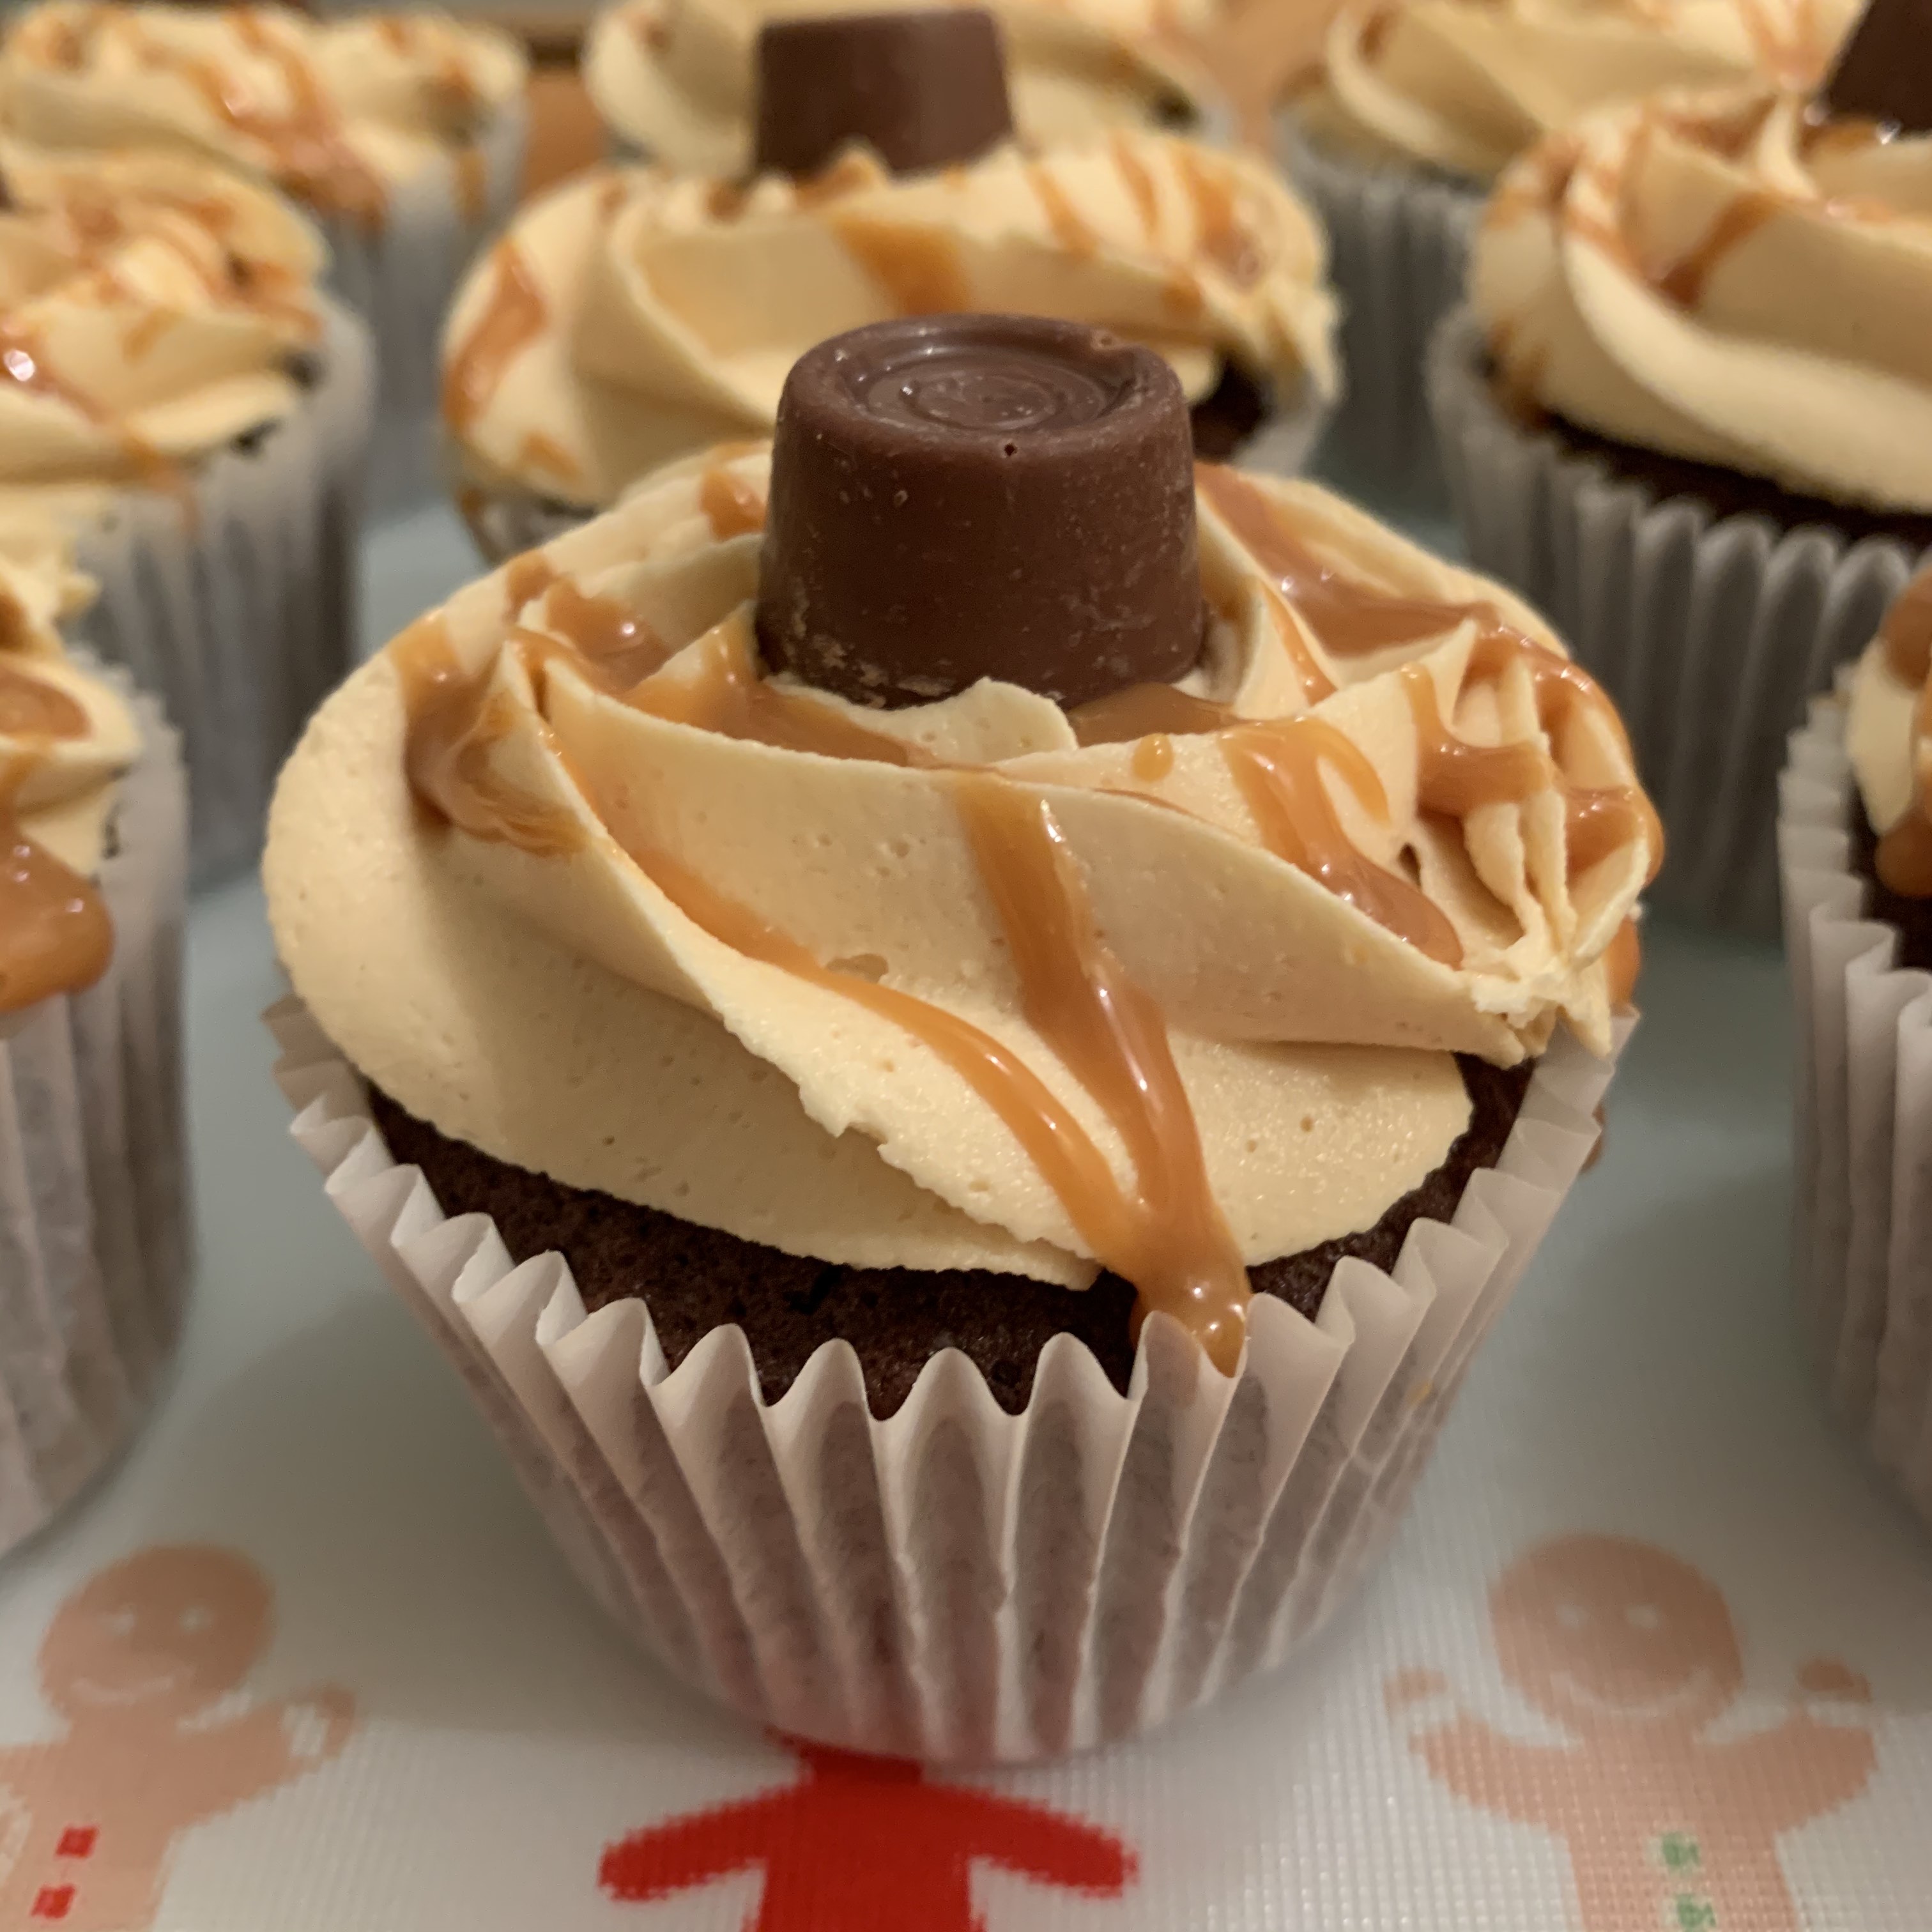
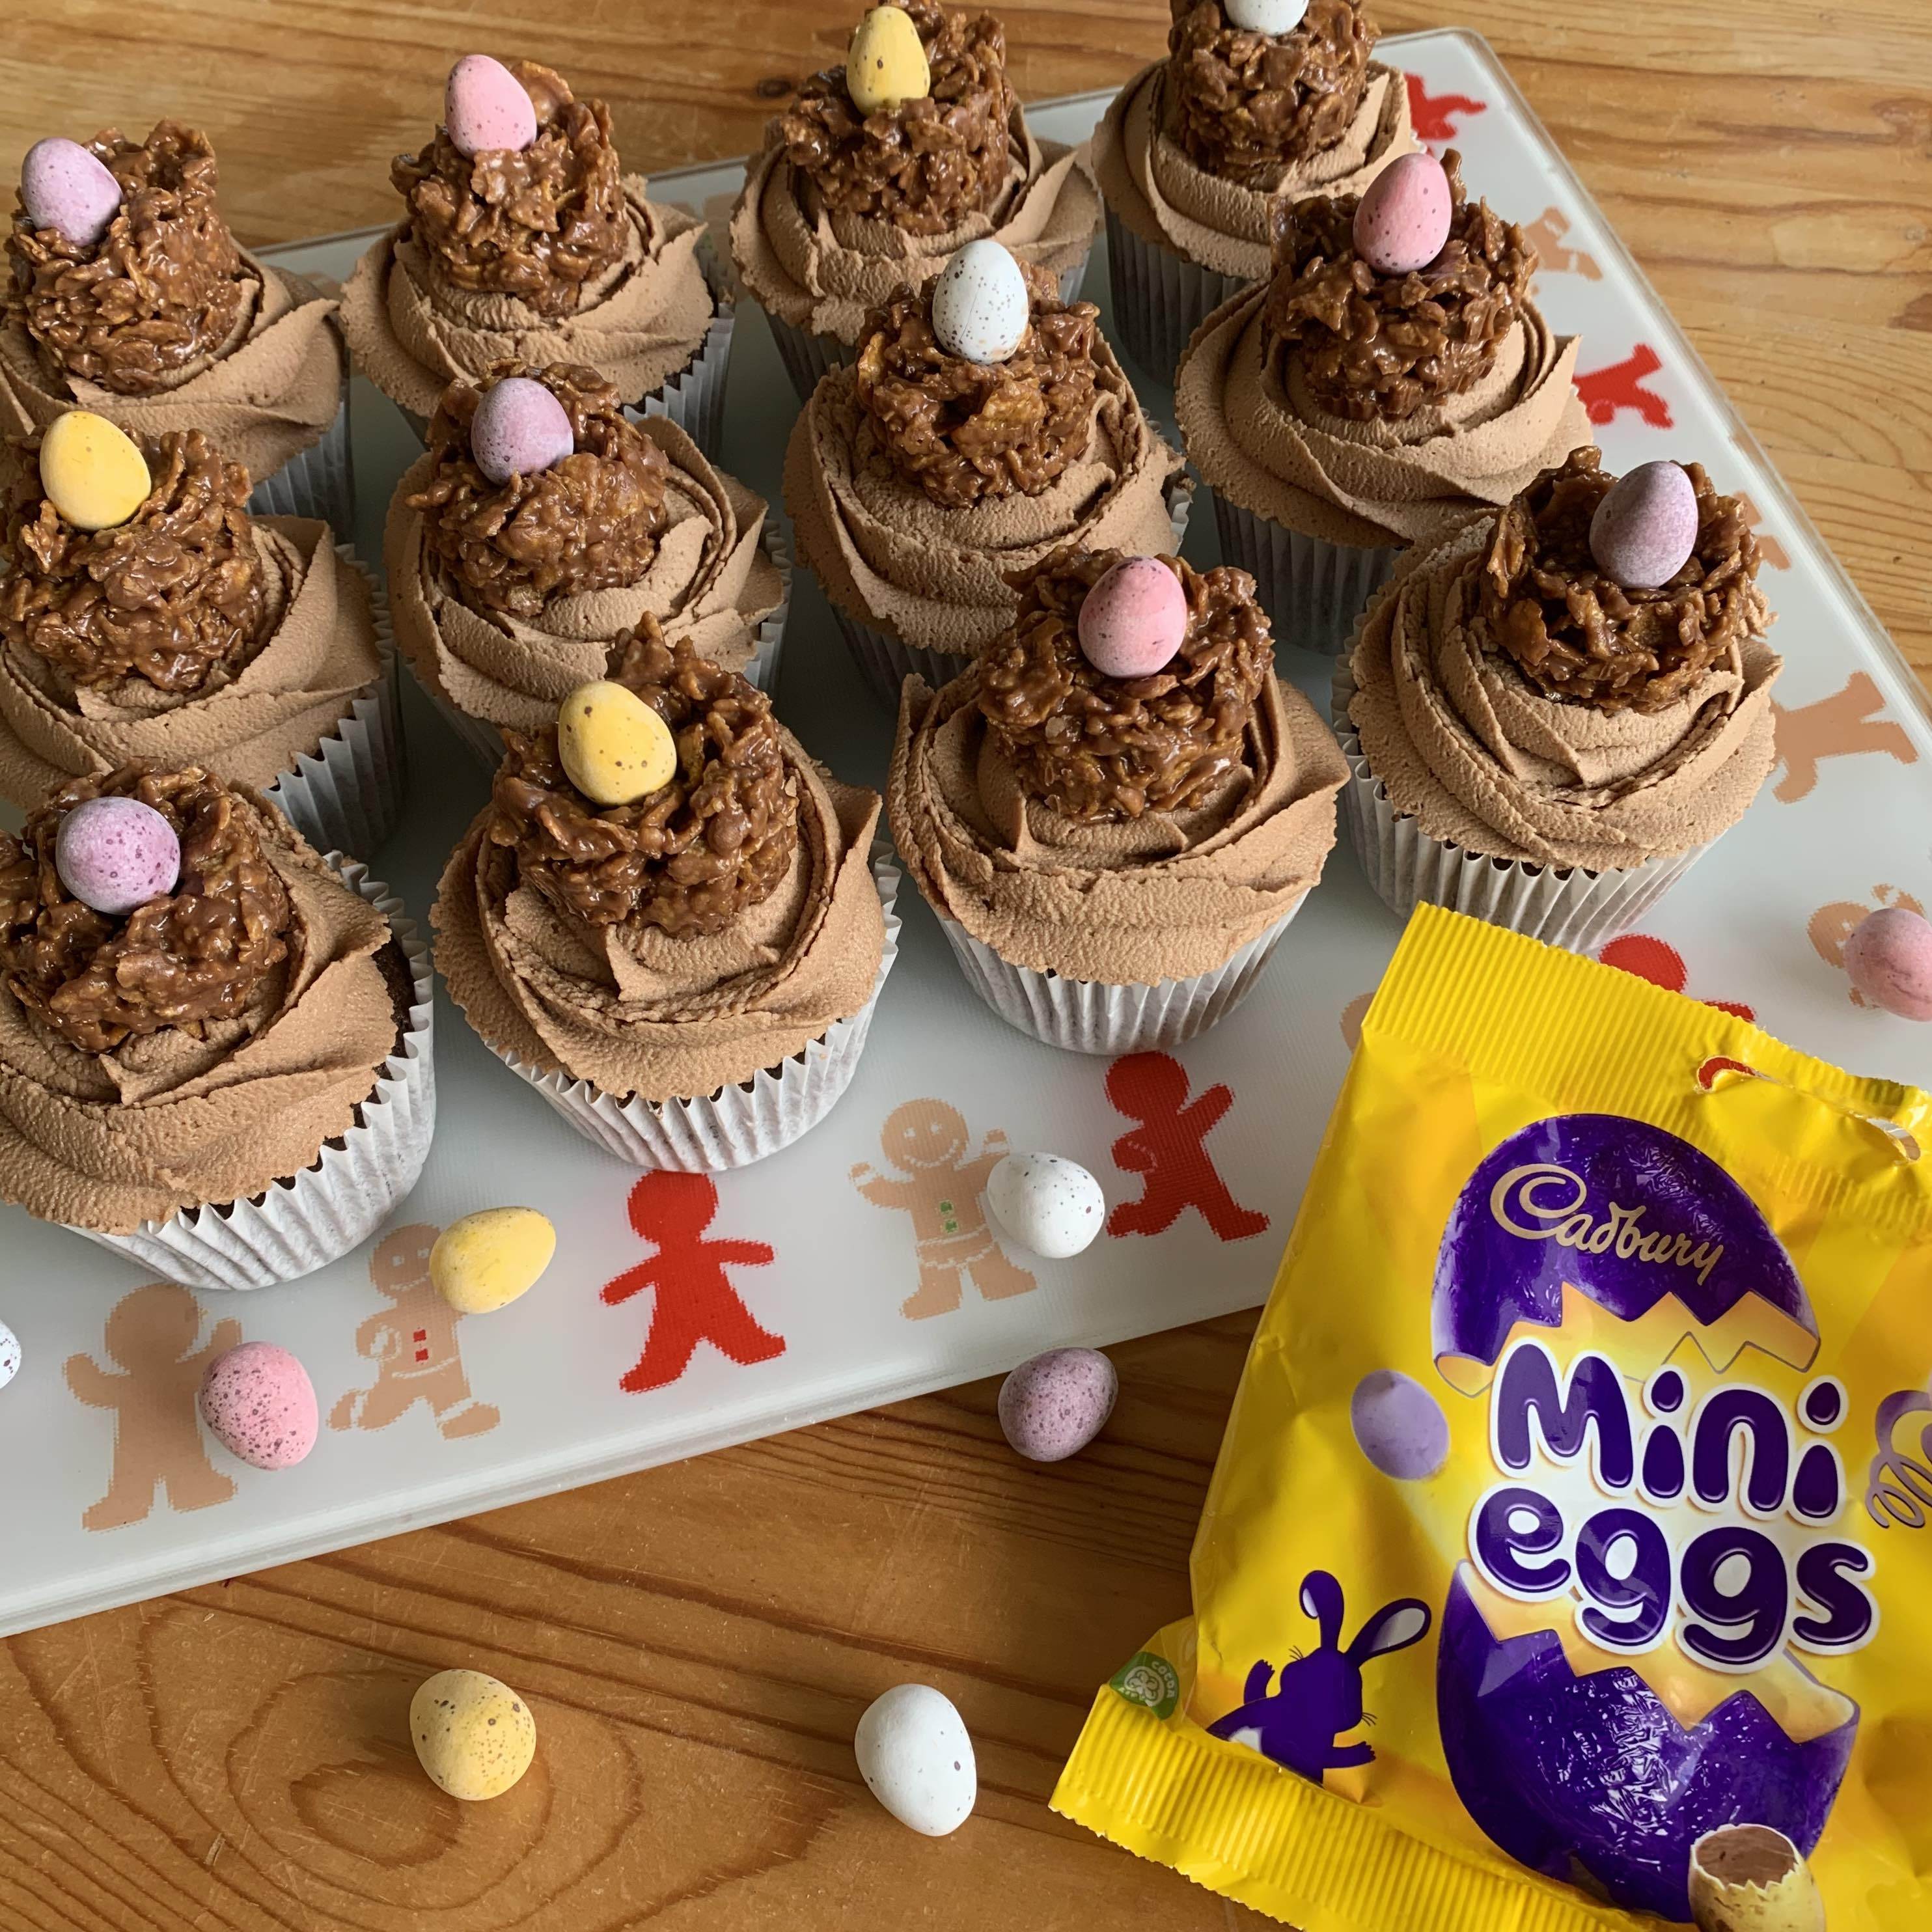
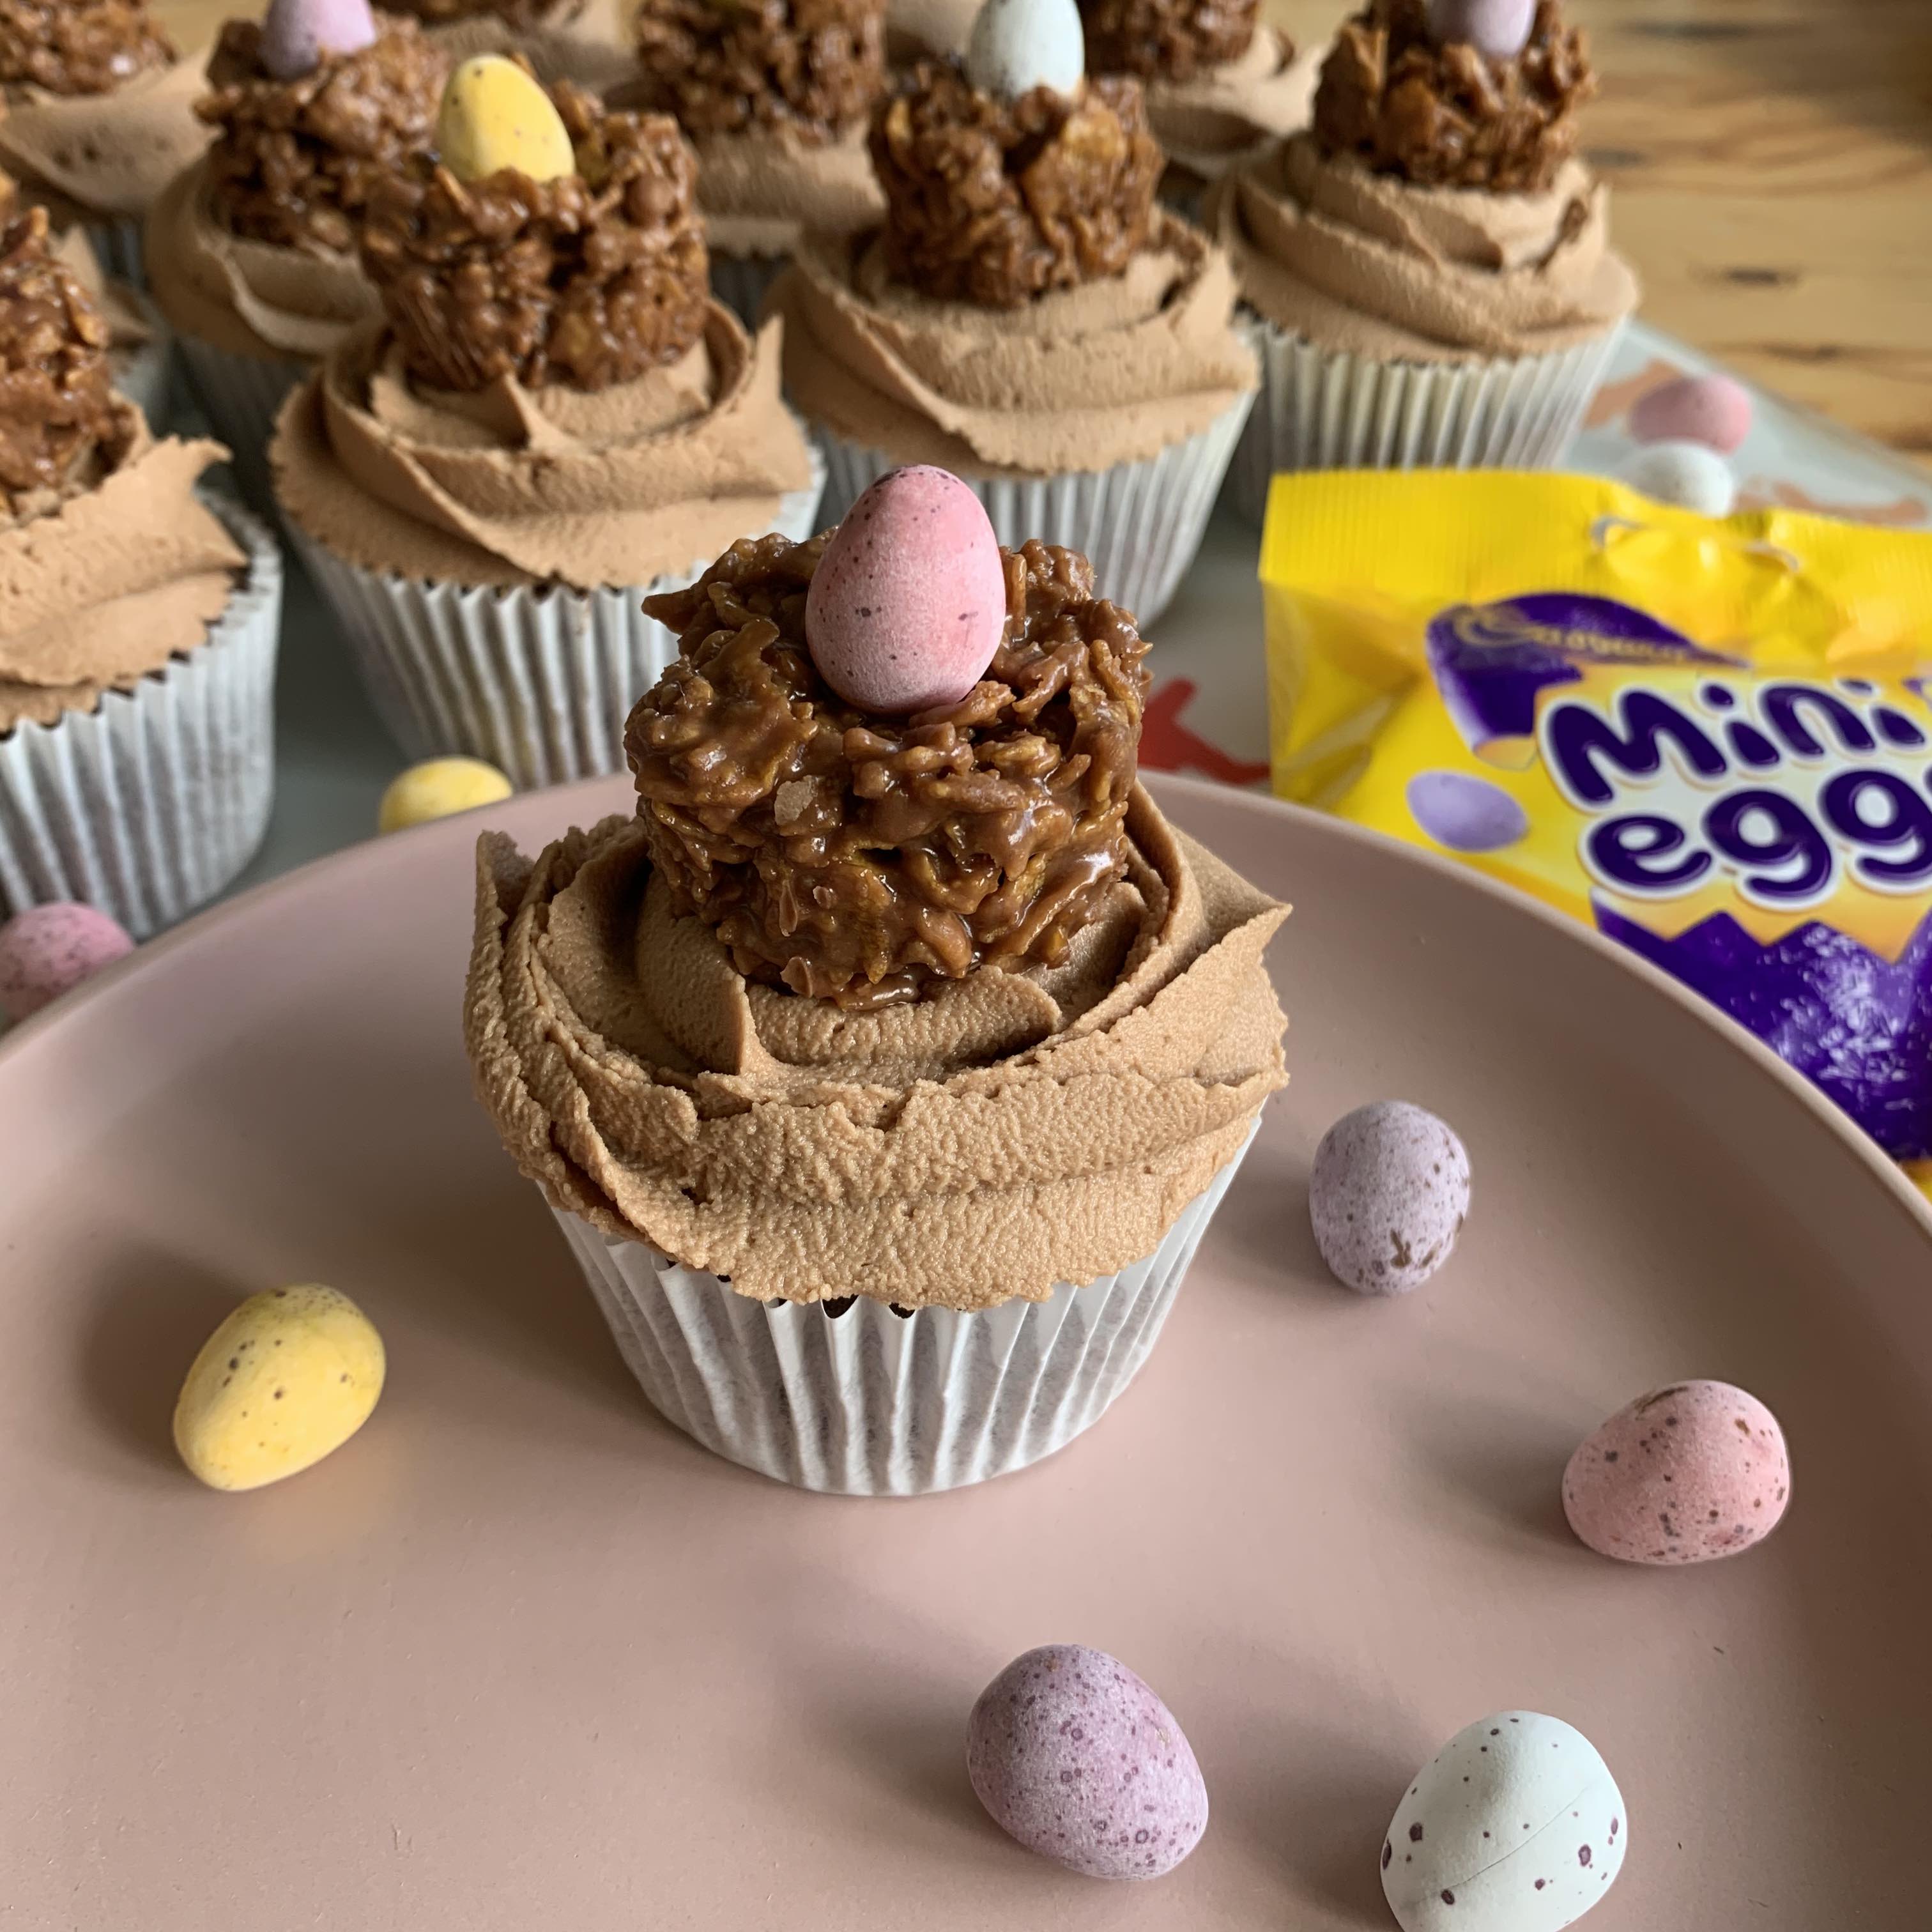
Adorable and easy to make, these mini egg easter nest cupcakes are a perfect way to get kids involved in the easter baking!
Easter Nest Cupcakes
April 7, 2020
Difficulty
Time 1.5 - 2 hours
Servings 12
- For the Nests
- Cornflakes (75g)
- Unsalted Butter (25g)
- Milk Chocolate - Melted (100g)
- Golden Syrup (3 tablespoons)
- Mini Eggs (12 - one for each nest!)
- For the Cupcakes
- Softened Unsalted Butter / Stork (160g)
- Caster Sugar (160g)
- Self Raising Flour (130g)
- Cocoa Powder (30g)
- 3 Large Eggs
- 2 tablespoons milk (I used semi-skimmed)
- For the Buttercream
- Unsalted Butter (150g)
- Icing Sugar (300g)
- Milk Chocolate - Melted (175g)
- Boiling Water (1-2 tablespoons)
- For the Nests
- Place 12 mini cupcake cups on a baking tray (or in a mini cupcake tray if you have one!). Add the cornflakes to a bowl and set aside.
- Melt the chocolate, golden syrup and butter together in a double boiler until a smooth sticky mixture has formed. (Or alternatively, if you're feeling lazy: heat in the microwave in 20 second increments).
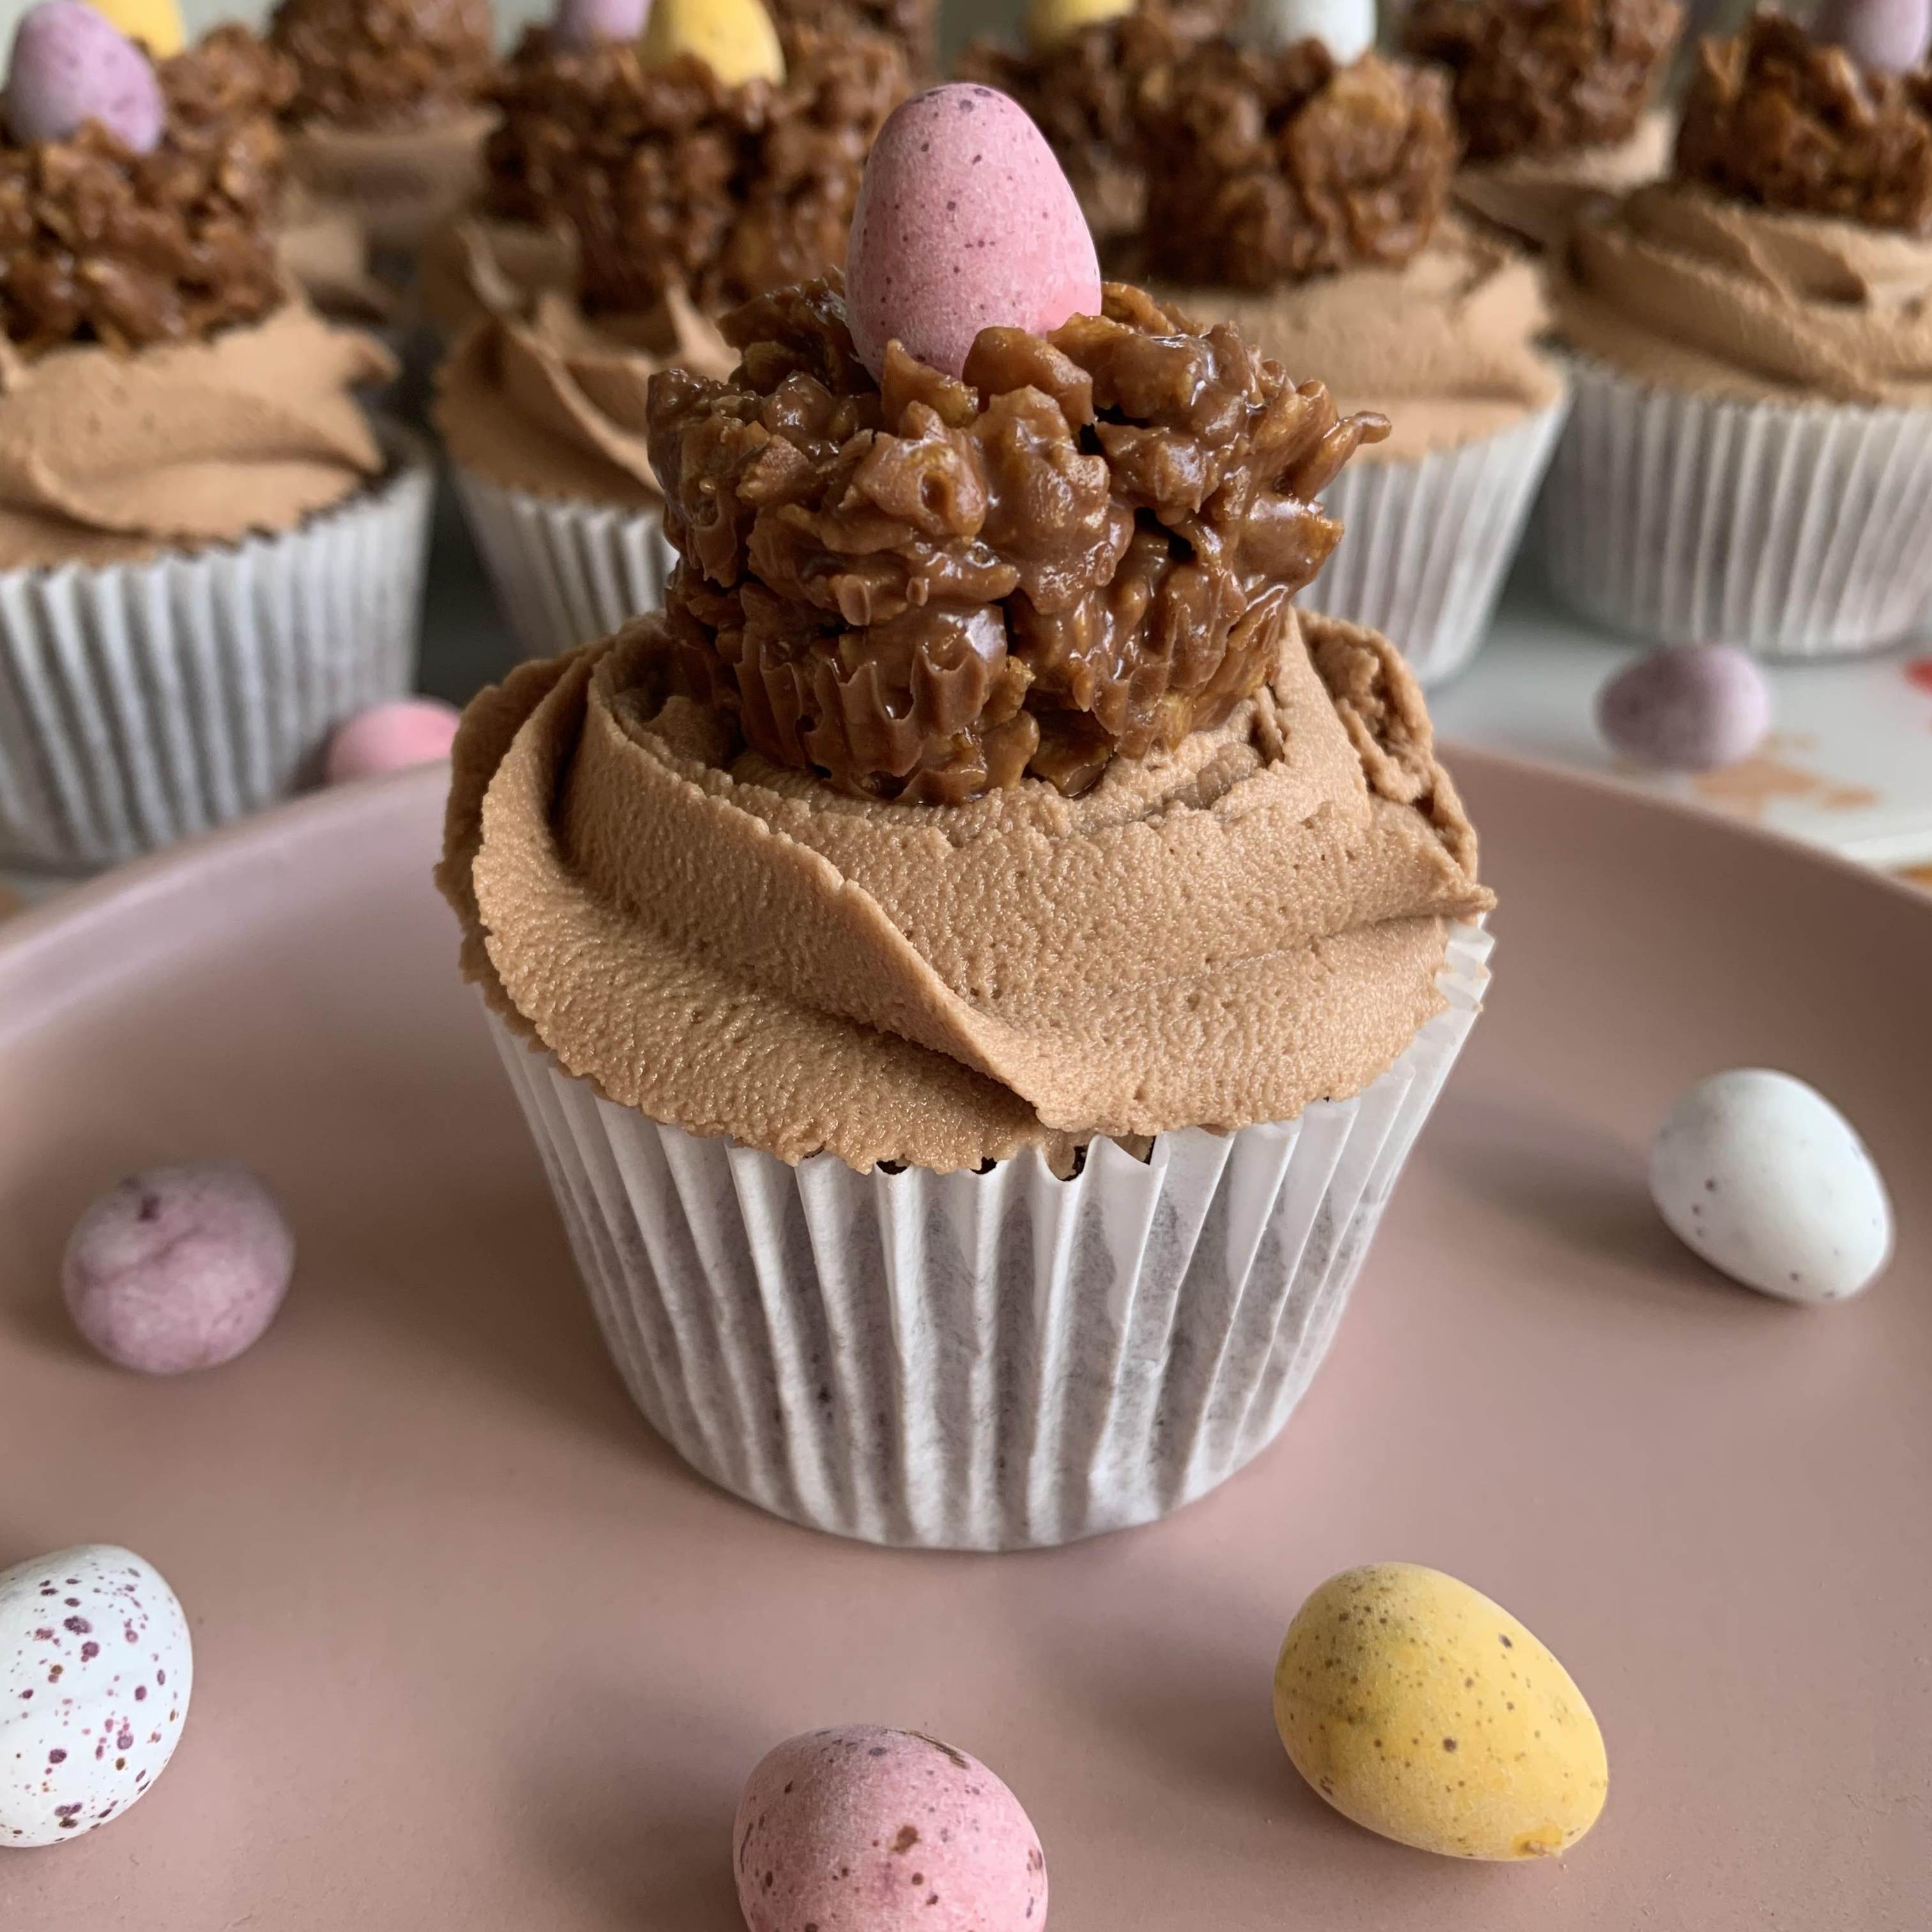
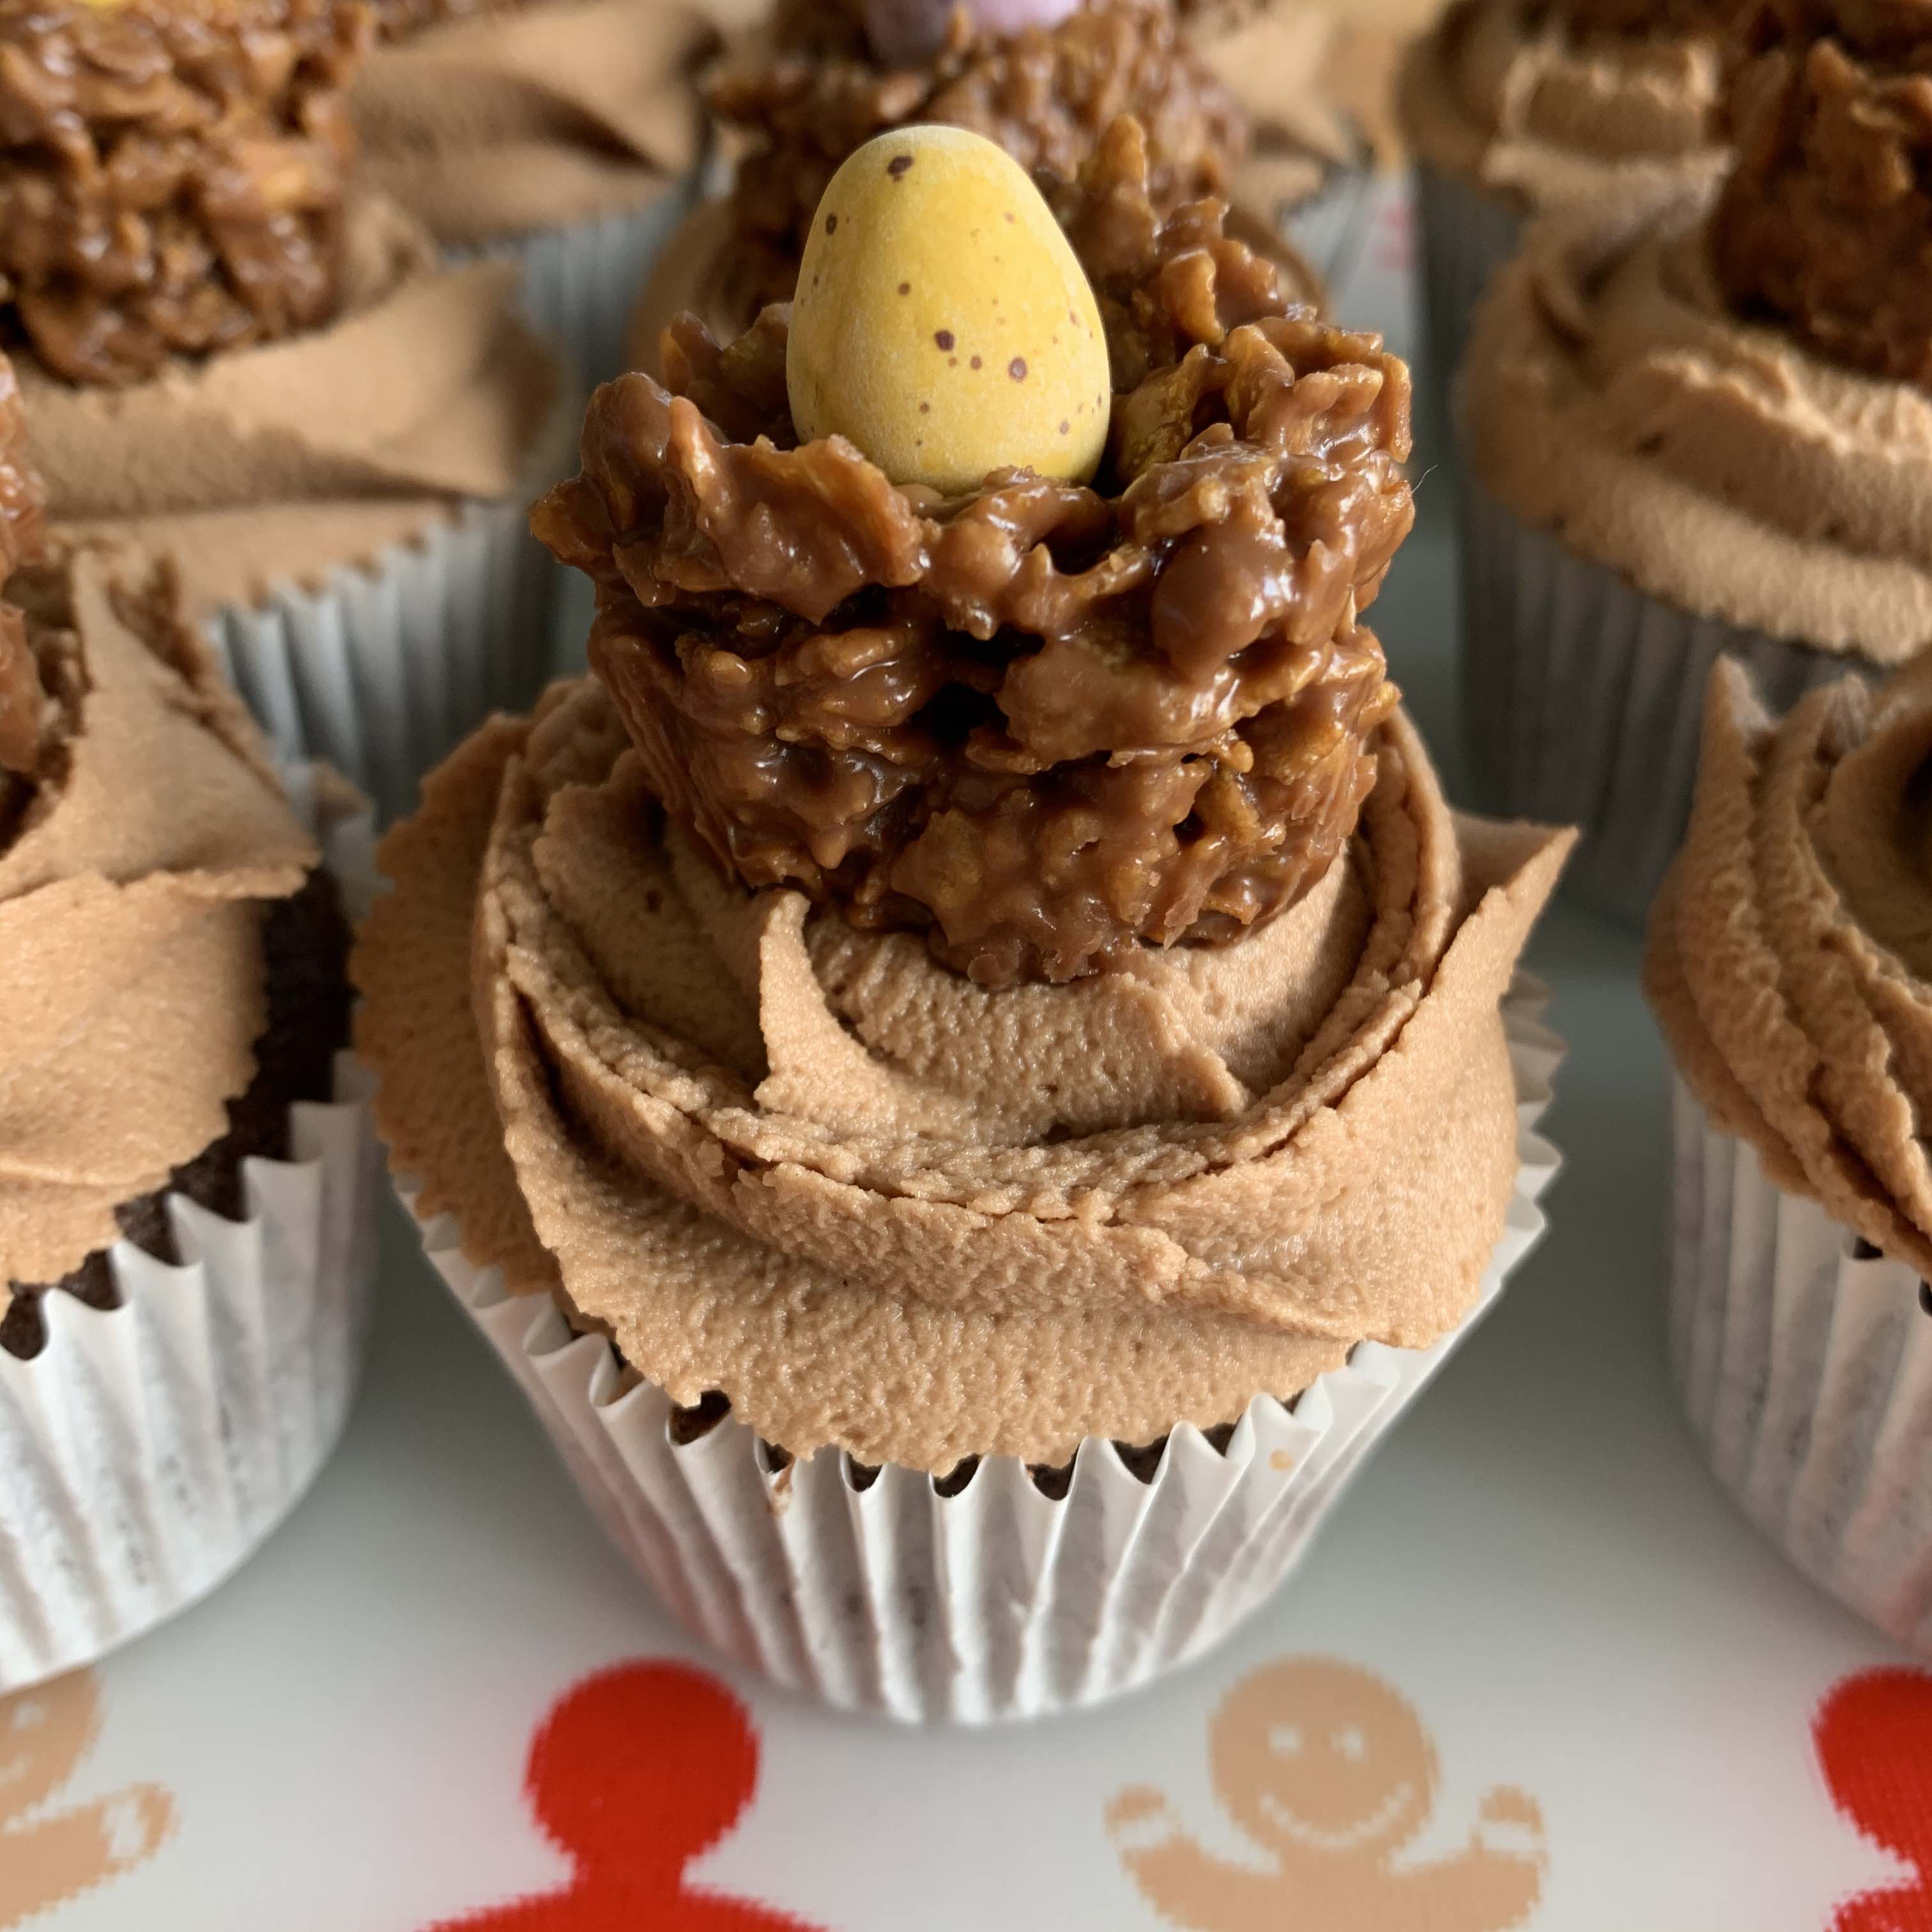
- Pour the chocolate over the cornflakes and mix until fully combined. Spoon the mixture evenly across the mini cupcake cups and press together to help the mixture stick. Press a mini egg on top of each, and then place in the fridge until set (approx 30 mins should be enough!).
- For the Cupcakes
- Heat oven to 180°C. Line a cupcake tray with 12 cupcake cases.
- Cream the butter/stork and caster sugar together until light and fluffy.
- Add the eggs one by one and stir in. Sieve in the flour and cocoa powder and mix in. Mix in the milk until smooth.
- Divide the mixture evenly between the 12 cupcake cases. Bake for 18-20 minutes until the cupcakes have become domed, are springy, and a skewer/toothpick comes out clean.
- Allow to cool for a couple of minutes in the cupcake tray, then transfer the cupcakes in their cases to a cooling rack. Allow to fully cool before decorating with buttercream (this is important or it'll just melt!).
- For the Buttercream
- Melt the milk chocolate in a heatproof bowl over boiling water and set aside to cool slightly.
- Beat room temperature butter for a couple of minutes using a hand or stand mixure until the butter has softened.
- Add in the icing sugar, and beat till smooth and the mixture has softened and turned lighter in colour.
- Add the melted milk chocolate and beat for another couple of minutes. Add 1-2 tablespoons of boiling water if the mixture is too firm to loosen it up. Be careful, don't add too much - a little goes a long way!
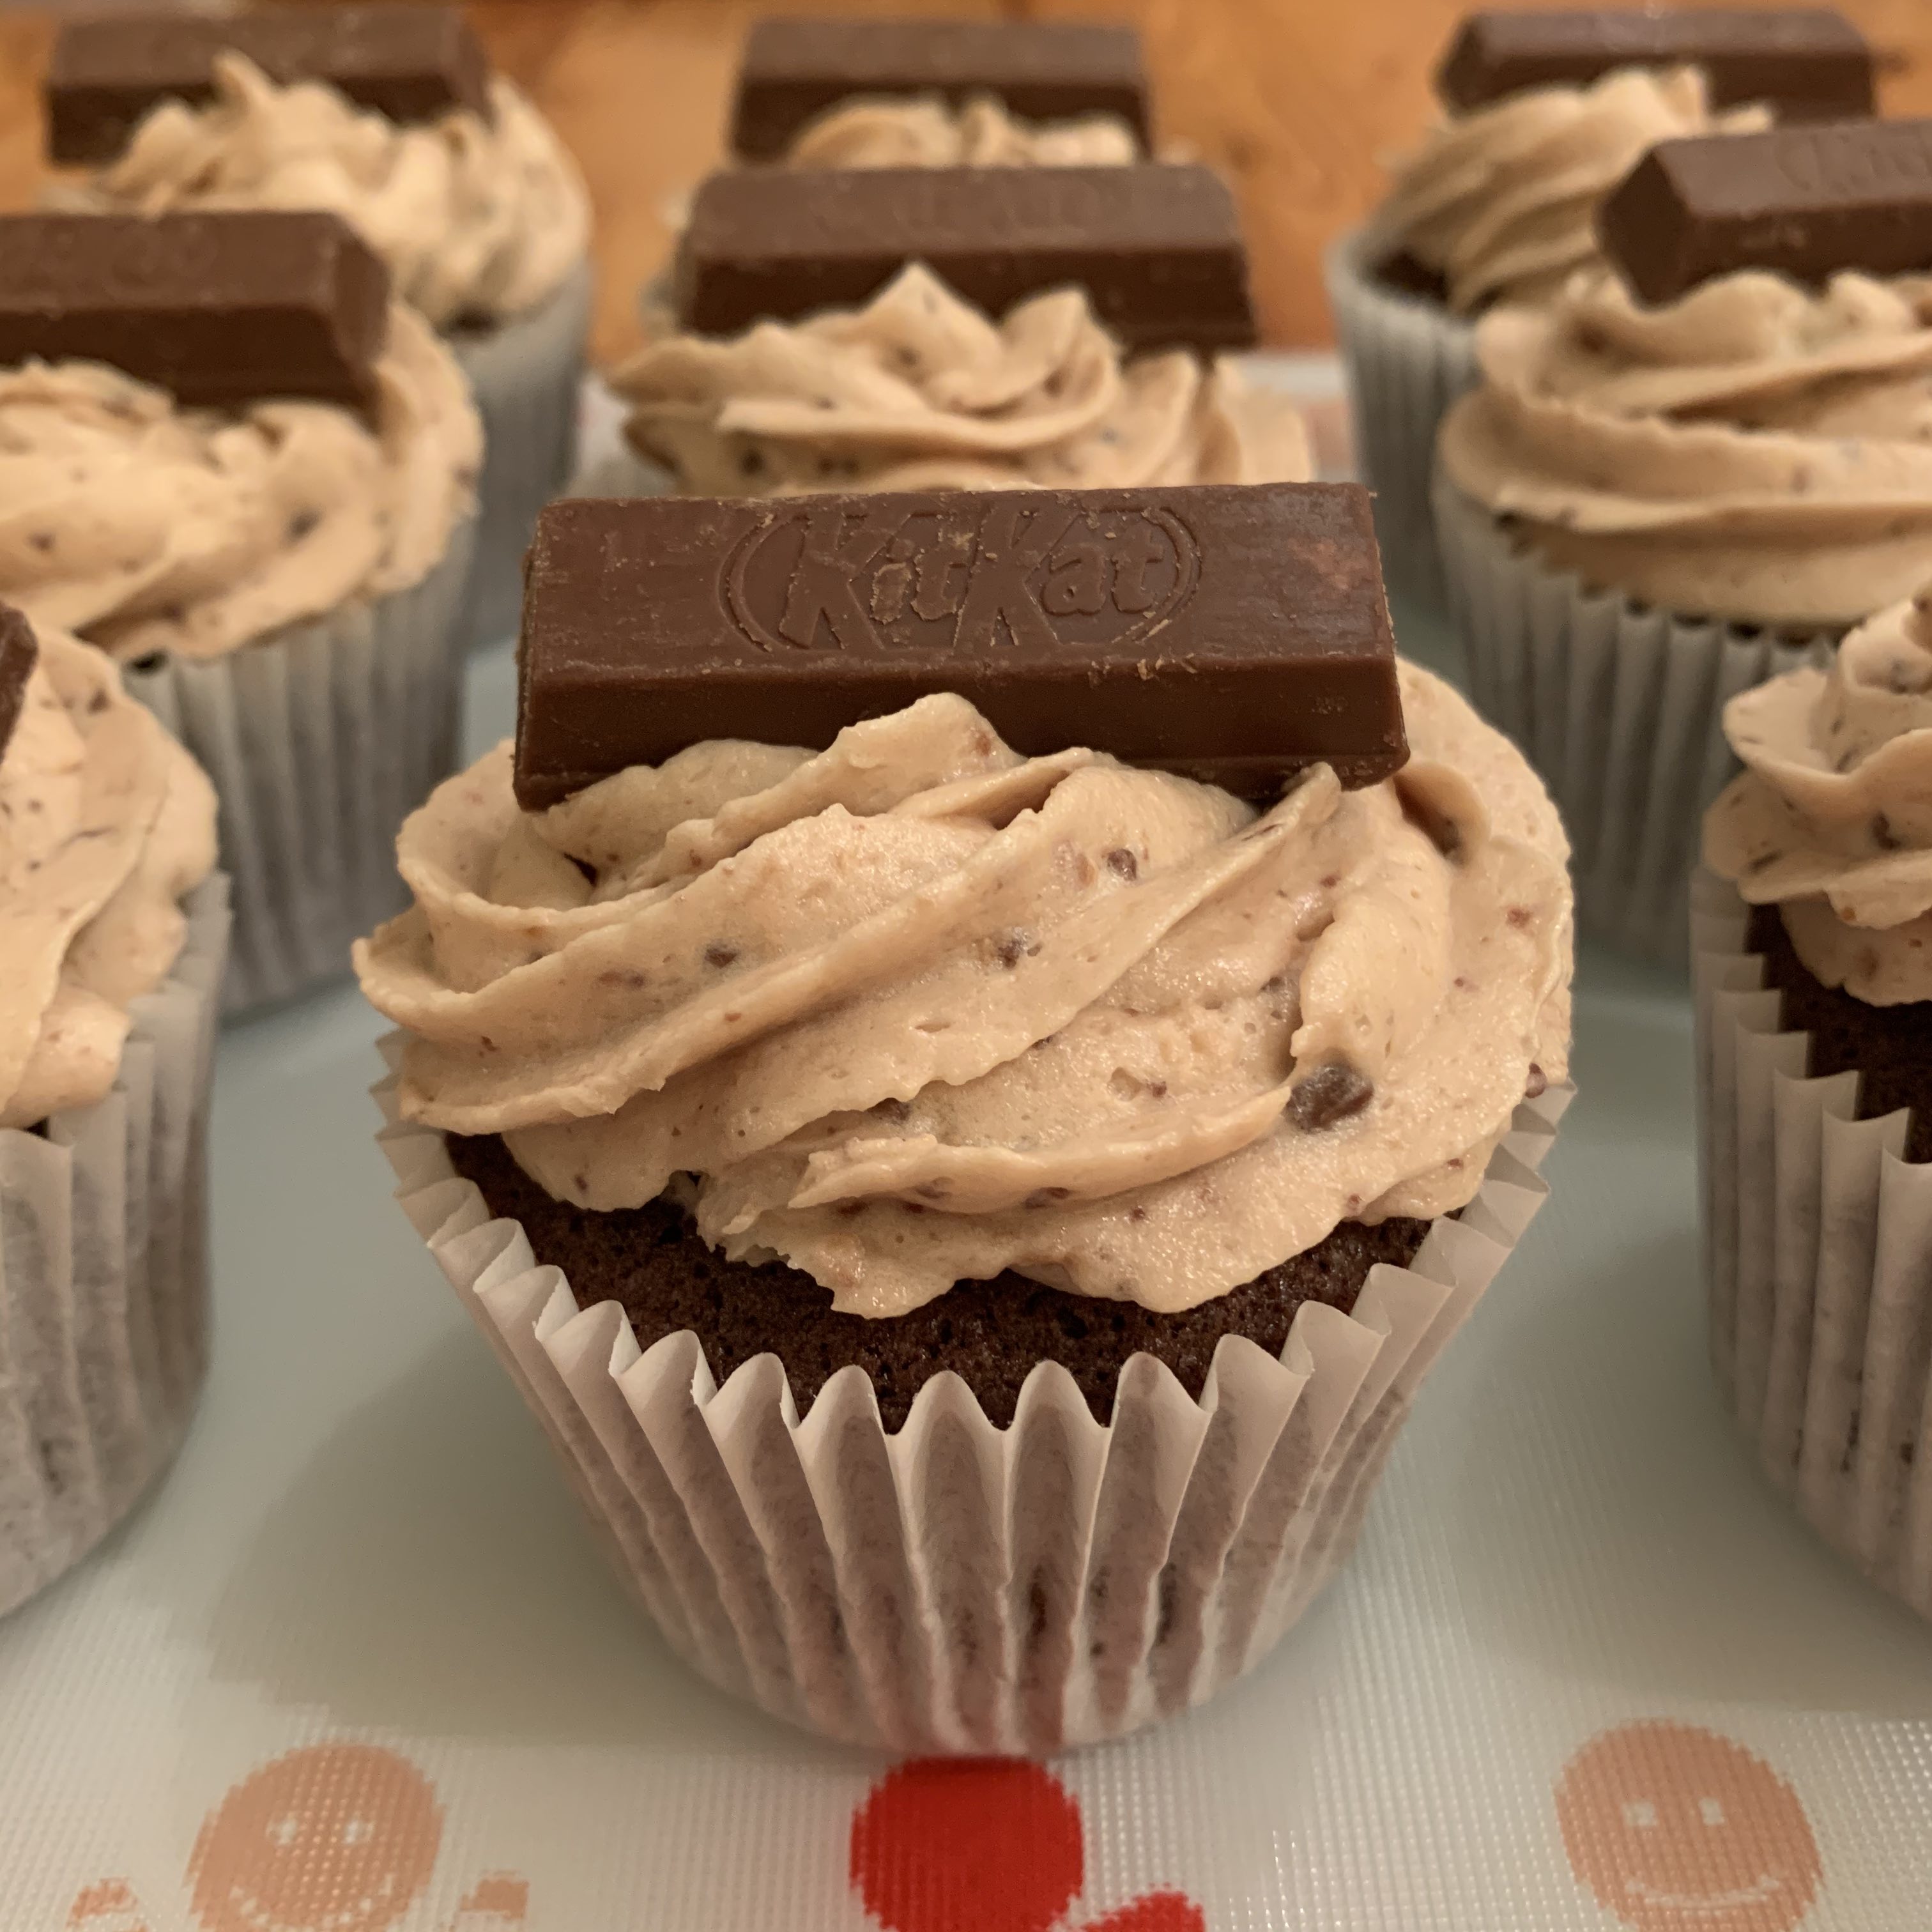
- Use a spatula to add the buttercream to a large piping bag with a 2D Closed Star Piping tip.
- Pipe buttercream roses on to each cupcake and finish with a chocolate nest for decoration!
- - Store your Easter Cupcakes in an airtight container at room temperature and consume within 3 days (although they are best on the same day!).!
- - I used cornflakes for the nests, but you could use shredded wheat or rice krispies instead!
- - I've added milk chocolate to the nests, but if you prefer a richer taste, you could use dark chocolate.
- - For a plain vanilla sponge: remove the 30g of Cocoa Powder and add an additional 30g of Self Raising Flour.
- - When melting the chocolate for the buttercream and nests you must be really careful not to burn the chocolate - melt in 10 second increments if using the microwave method and be sure to stir well between each.
- *I earn a small amount of money if you buy the products after clicking the links. You will not be charged extra for this. Thank you for your support!
Ingredients
Method
Notes
Recommended Equipment and Ingredients*